
Tip: The following demonstration steps use the test environment address. In practice, the address is replaced with the actual address. The procedure is the same.
Create a archive directory:
Overview: It is used to archive the pages after they are unpublished.
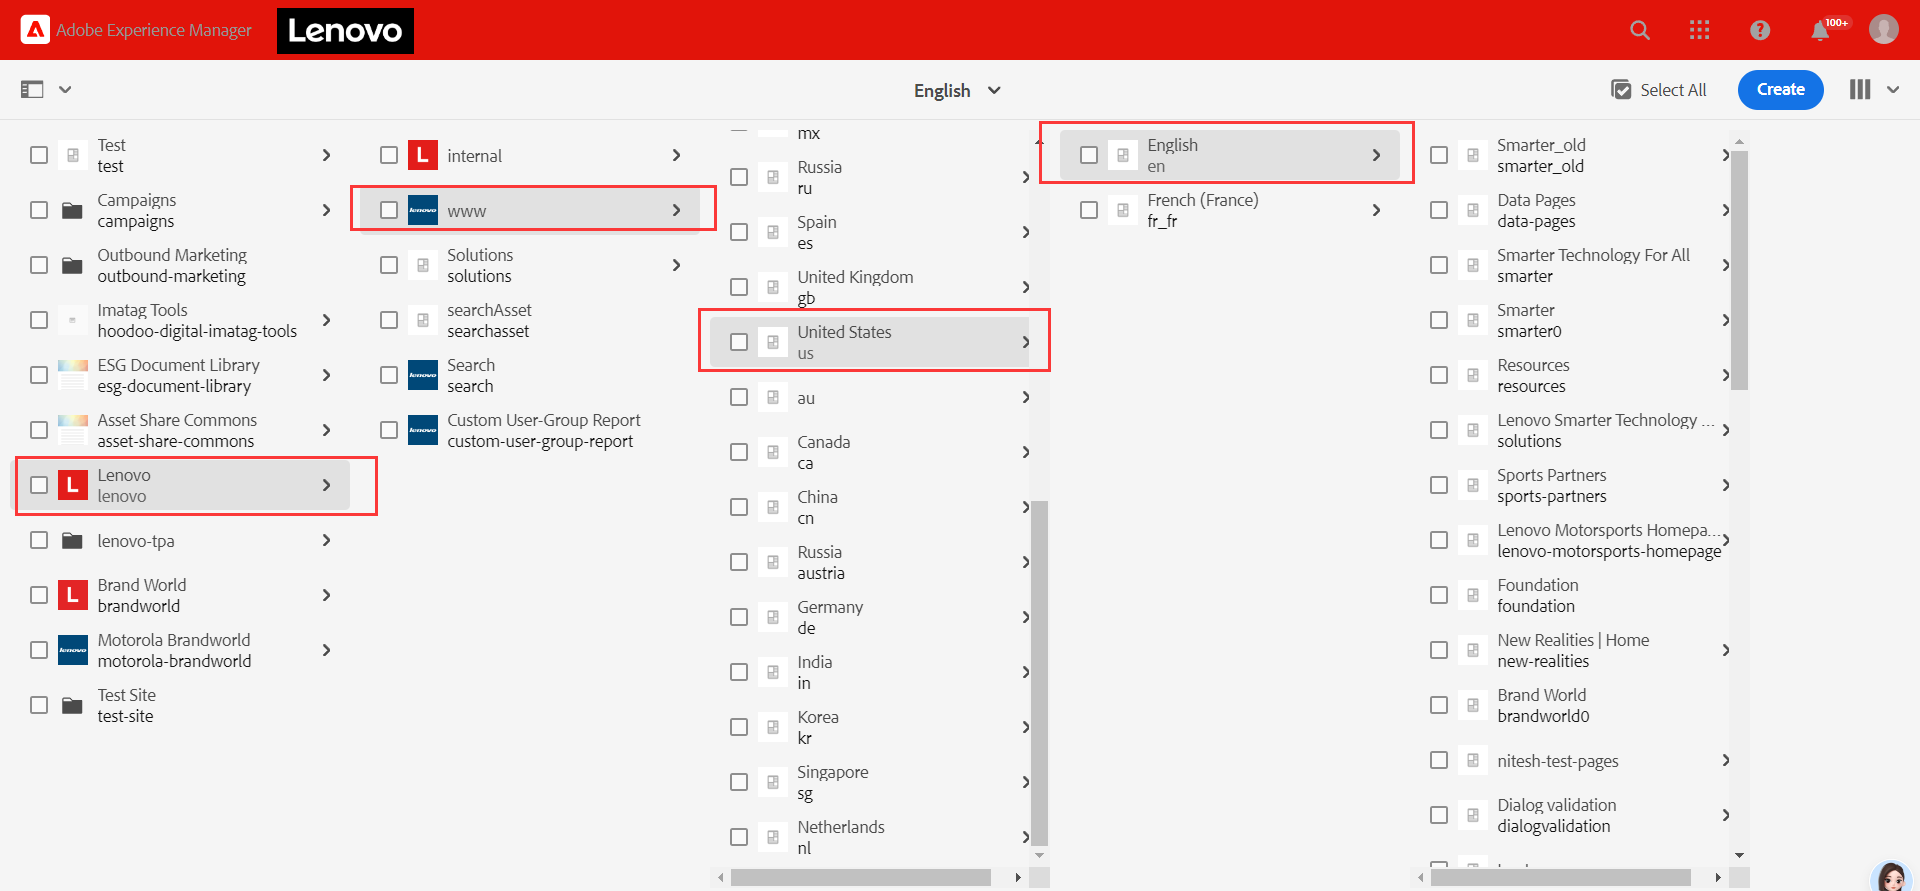
1. Login to the AEM and navigate to the folder that you wanted create new folder, there we will add new folder to /content/lenovo/www/us/en:
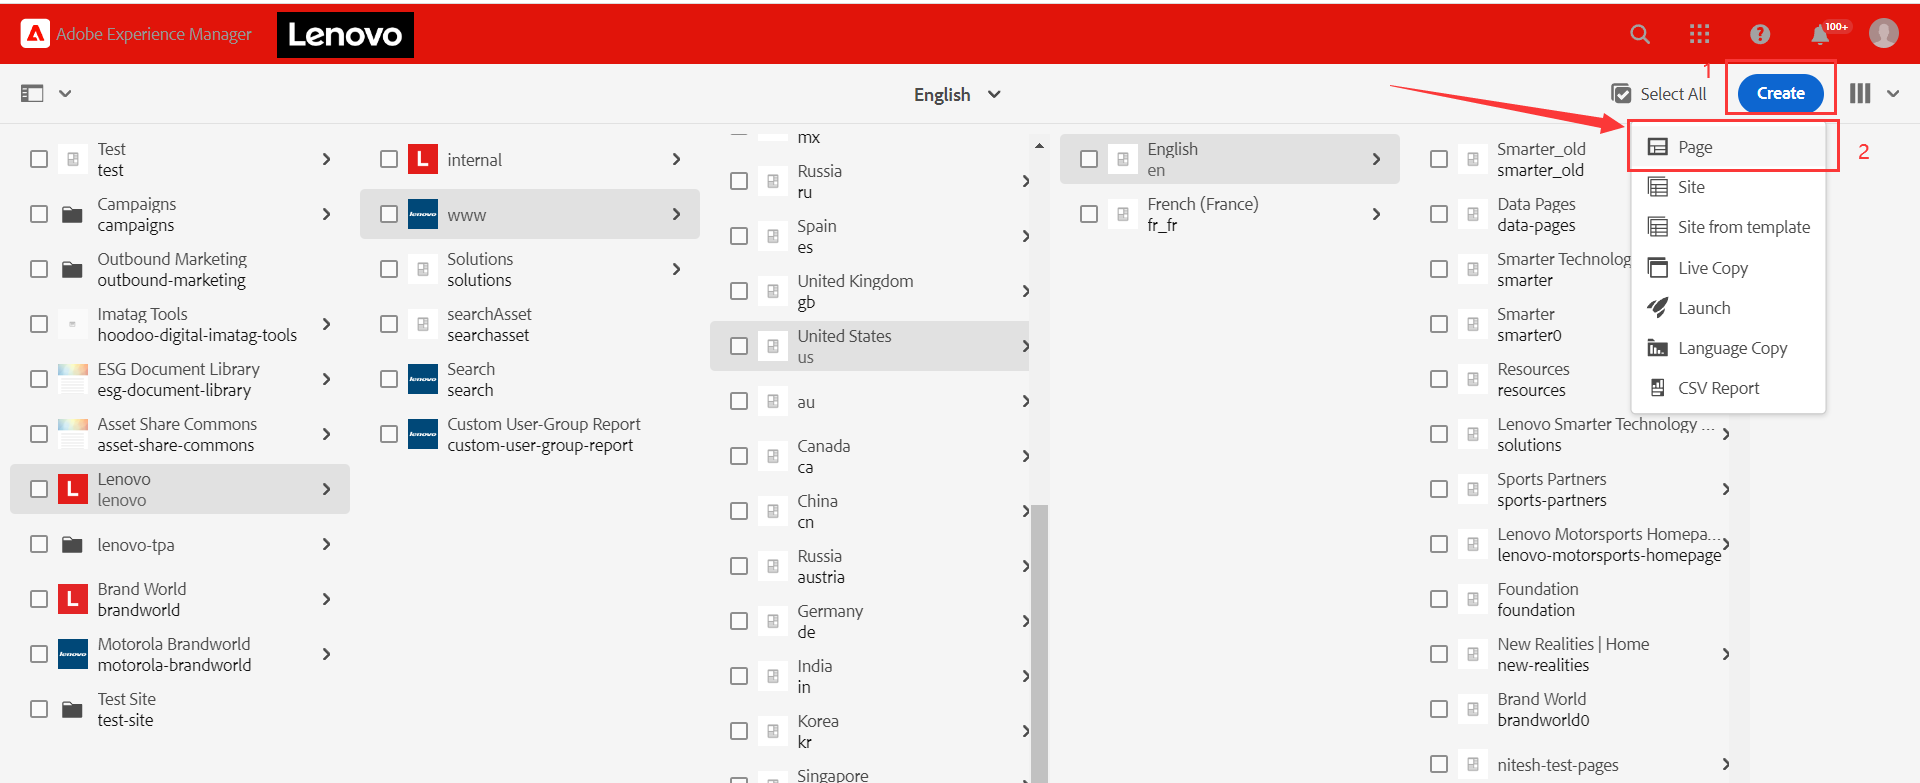
2. Click 'Create' button on your top right to create a page:
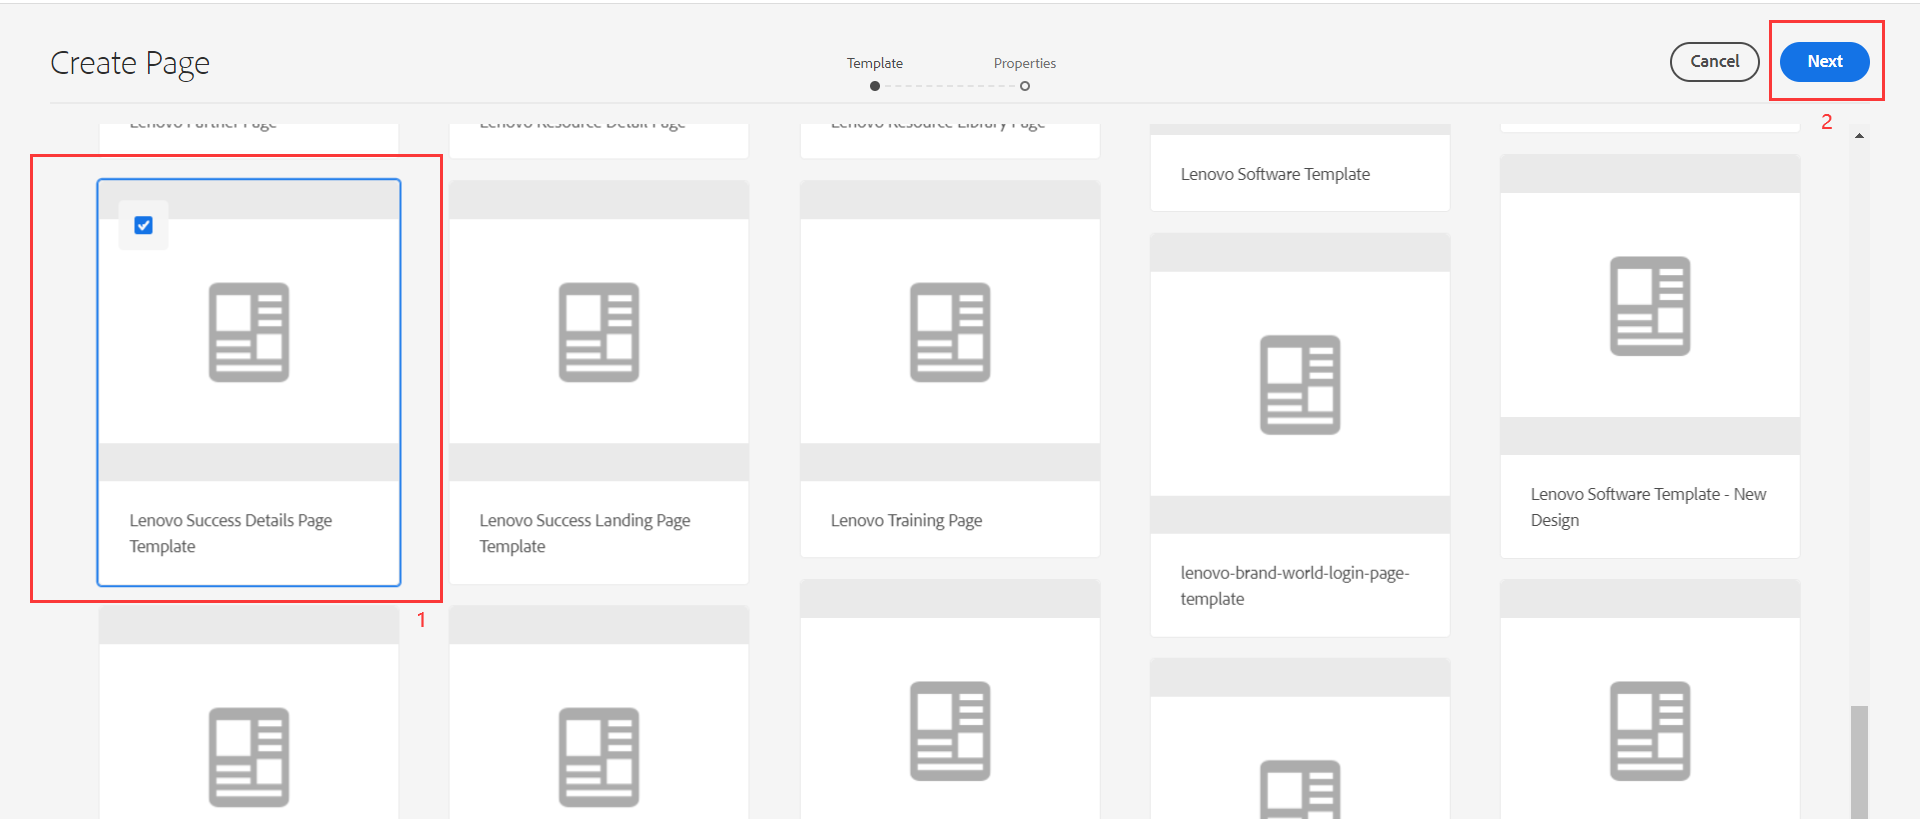
3. Here you can select the same template as case-studies-customer-success-stories(if you only use it for archive, it doesn't really matter what you choose here) and click the Next button in the upper right corner:
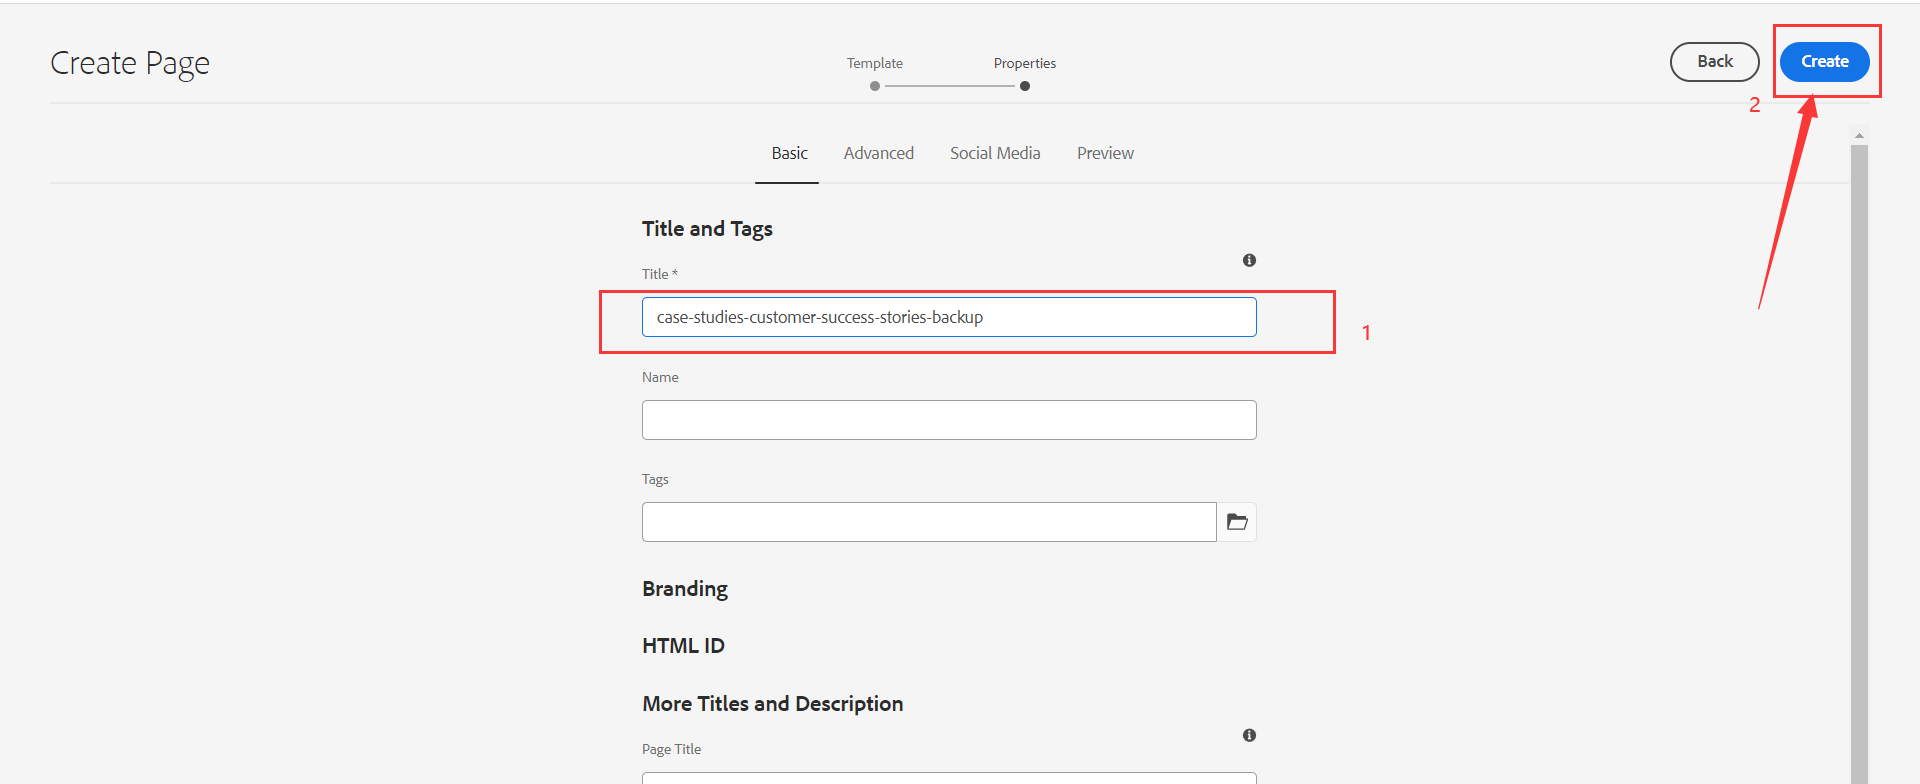
4. You can put a title name that you want, here we put title like 'case-studies-customer-success-stories-backup', and click 'Create' button:
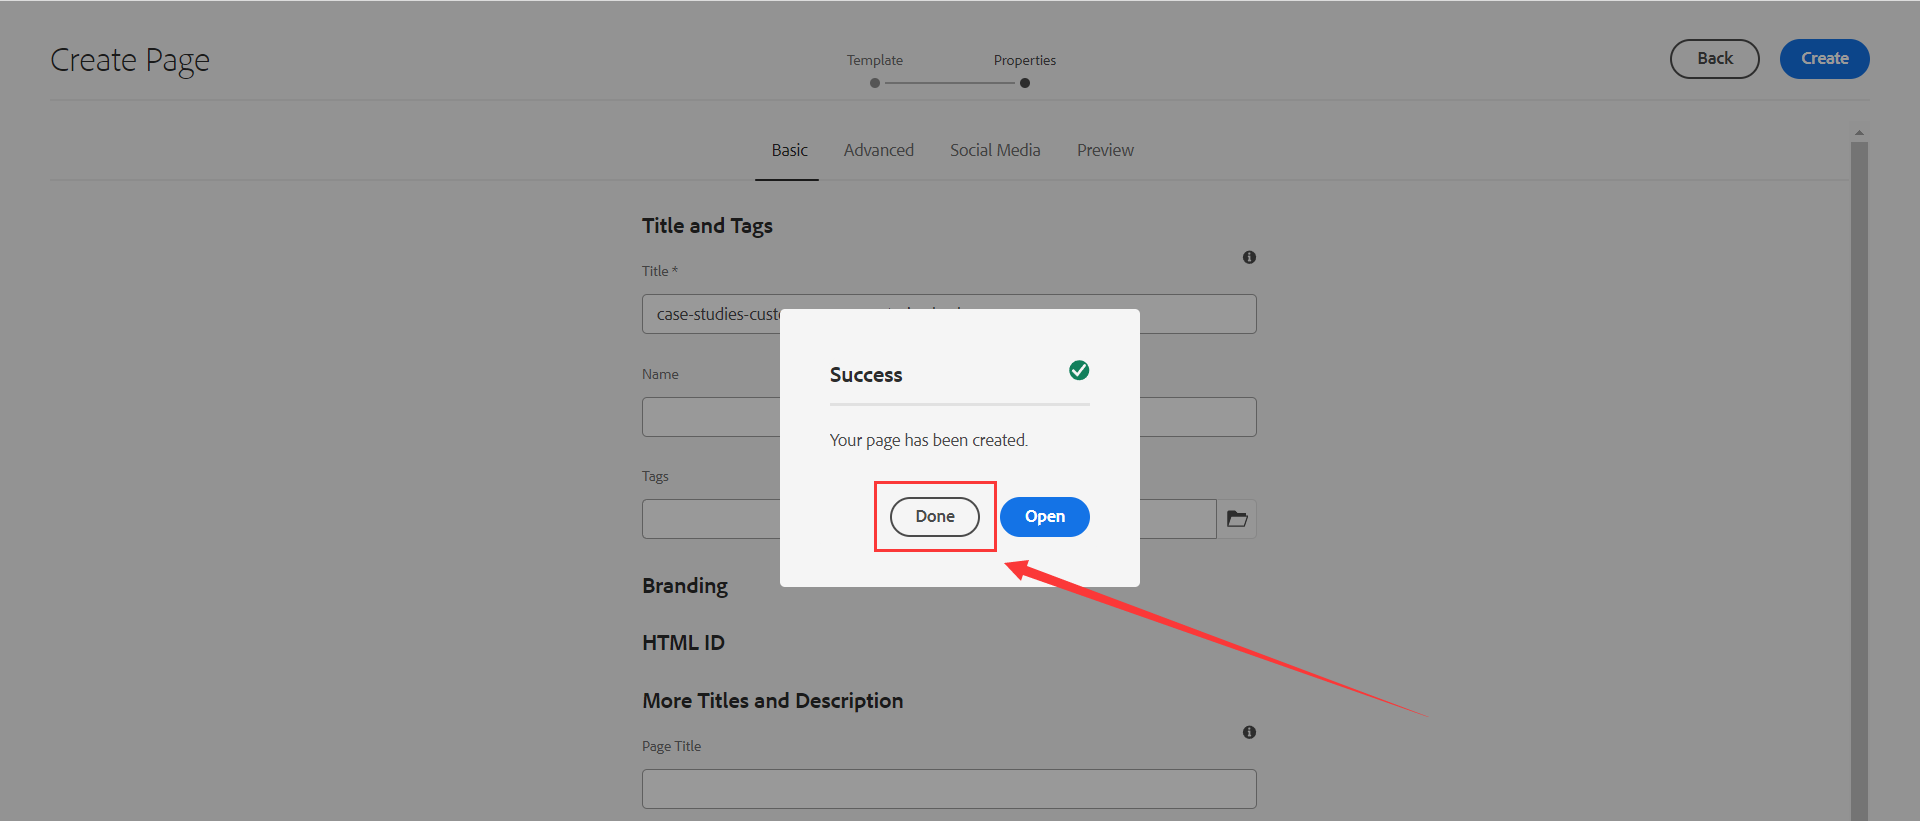
5. This will take a few moments to create, then a message will be displayed indicating that the creation is successful, and then click 'Done' to complete the creation of the archive folder:
6. Next you will see a record below the table of contents:
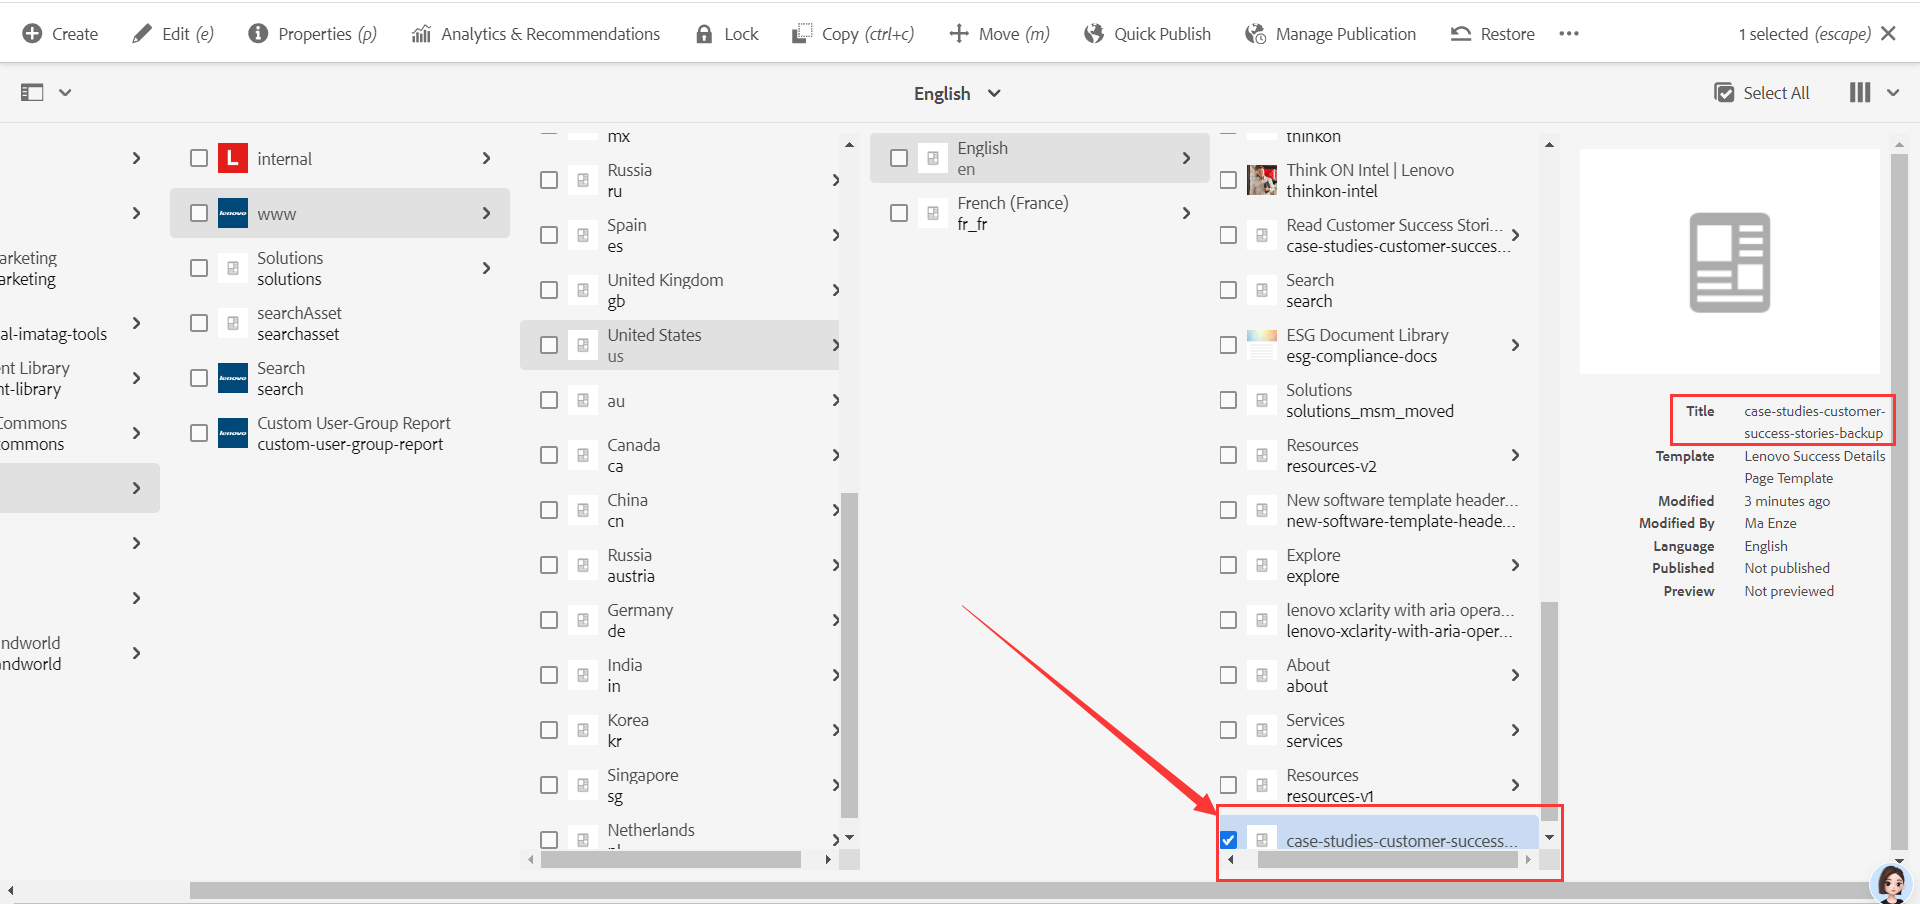
Now that the archive directory has been created, next we are going to migrate the page into the directory.
Unpublish page:
Overview: Here is to unpublish the page that has been published.
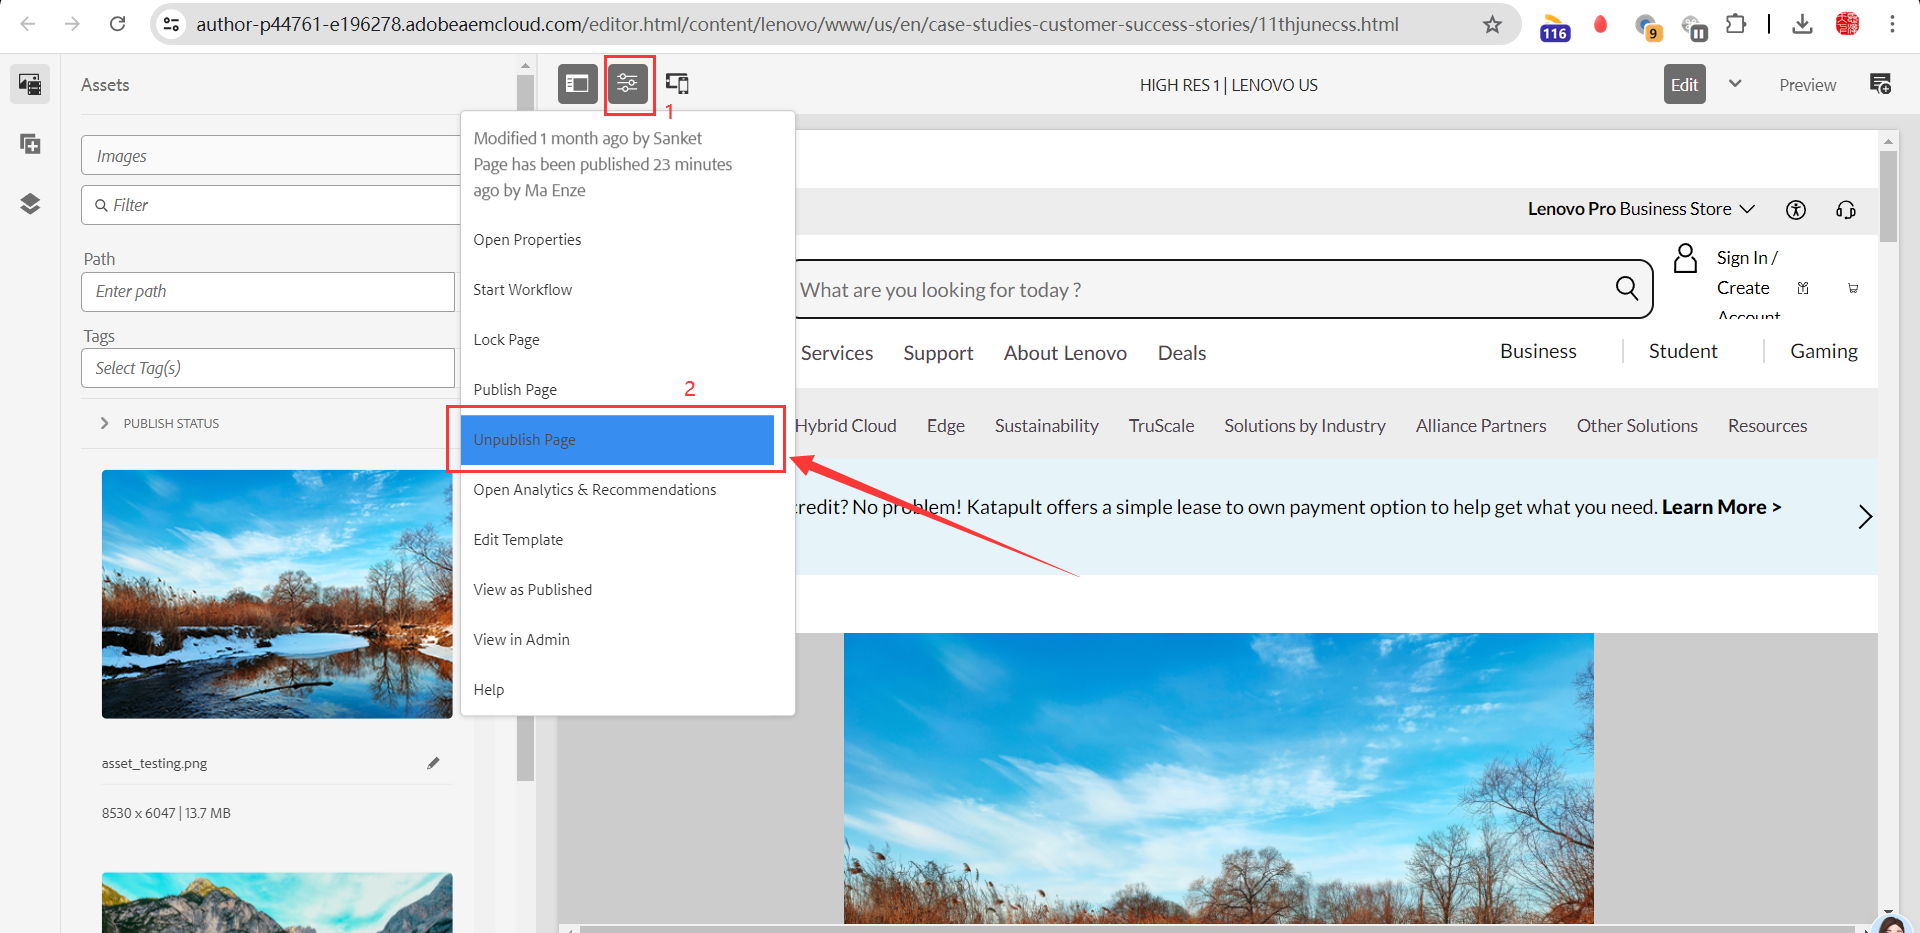
1. Go to Editor page, click the Settings button in the upper middle and select 'Unpublish the page':
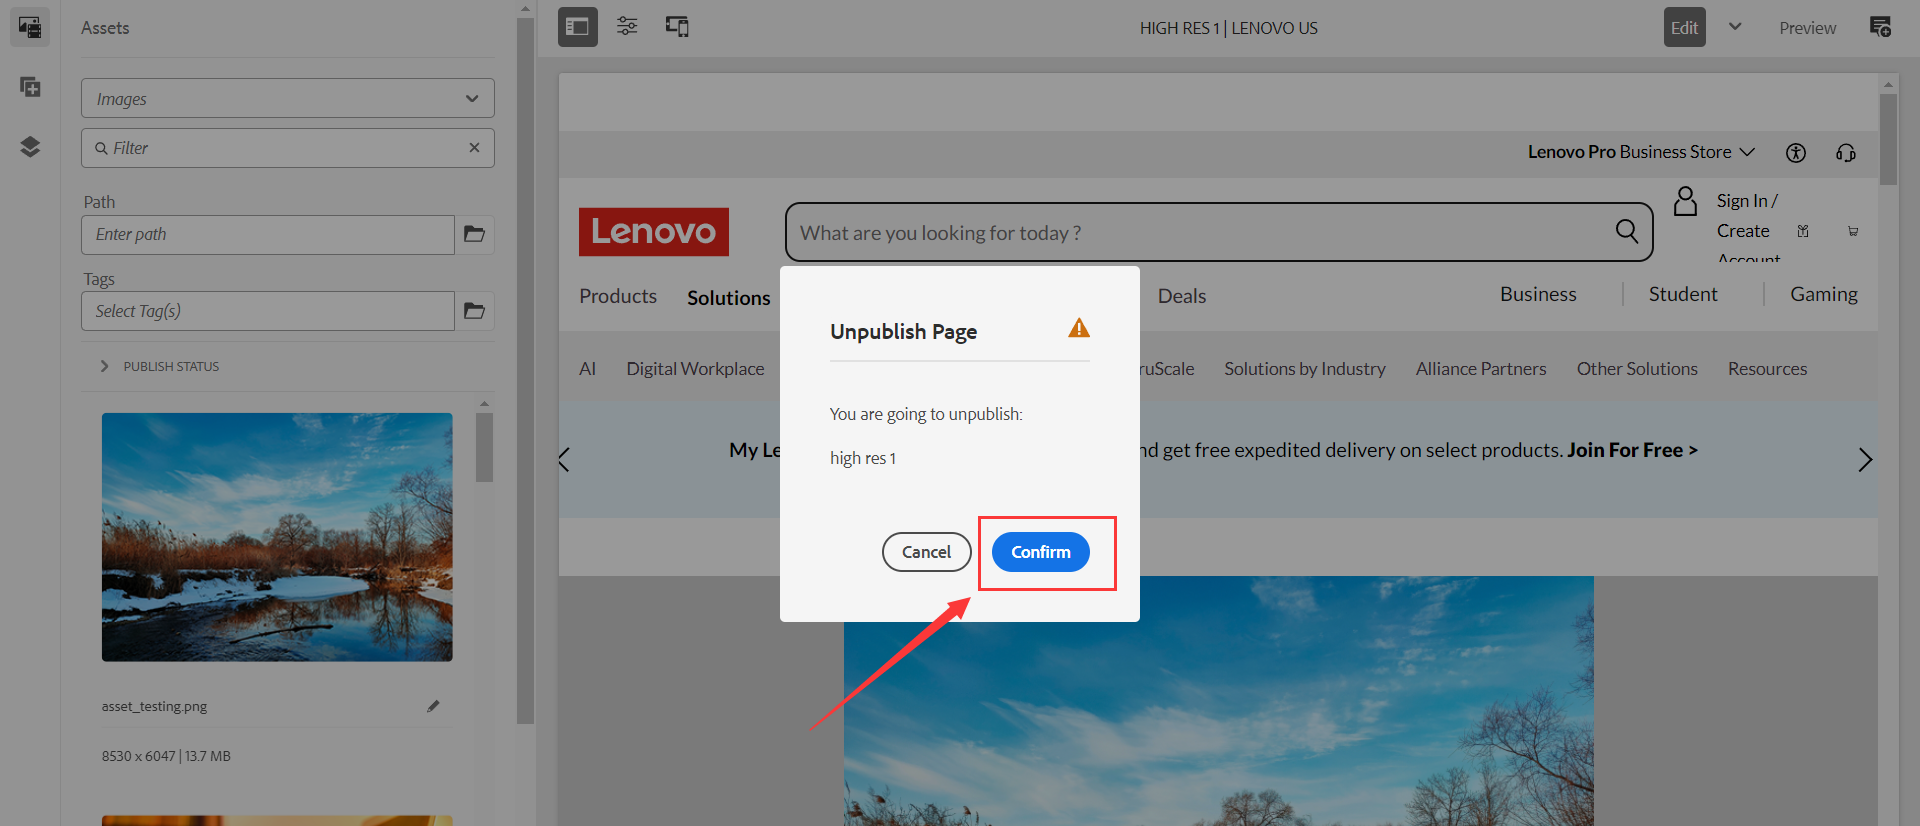
2. Click 'Confirm' button:
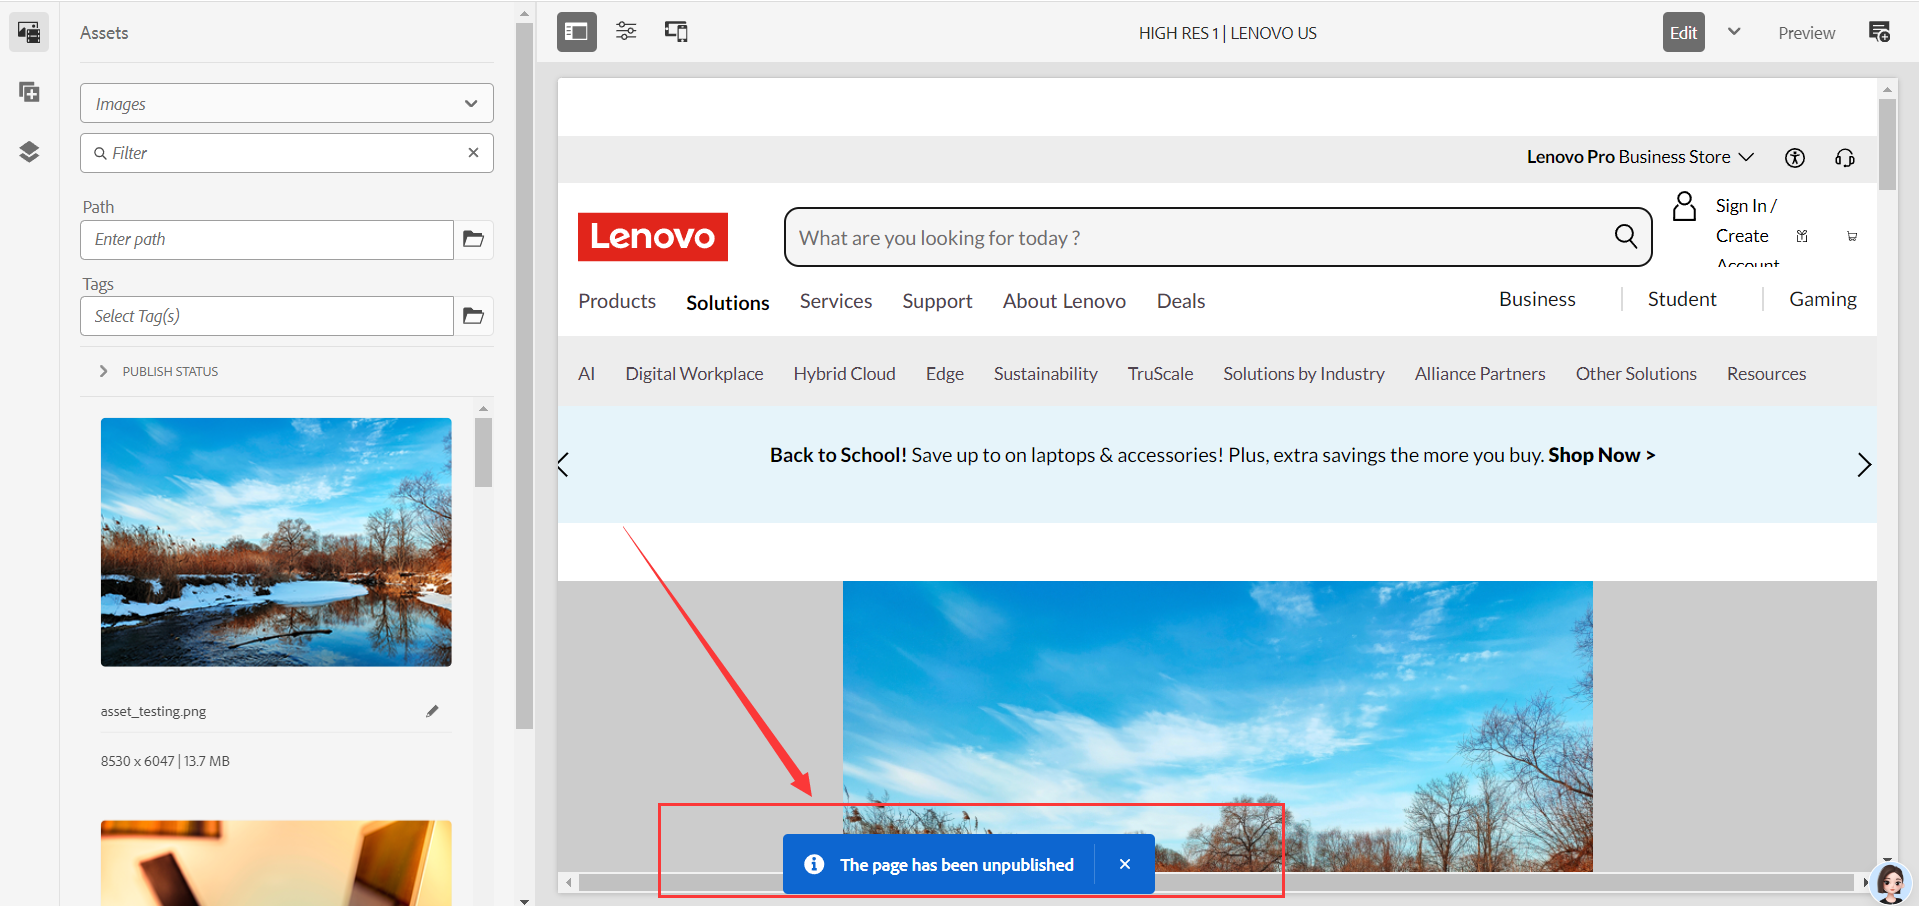
3. Here it will prompt 'Unpublish succeeded':
Archive pages:
Overview: The effect of archiving a page is achieved by moving the unpublished page to the archive directory that we have created.
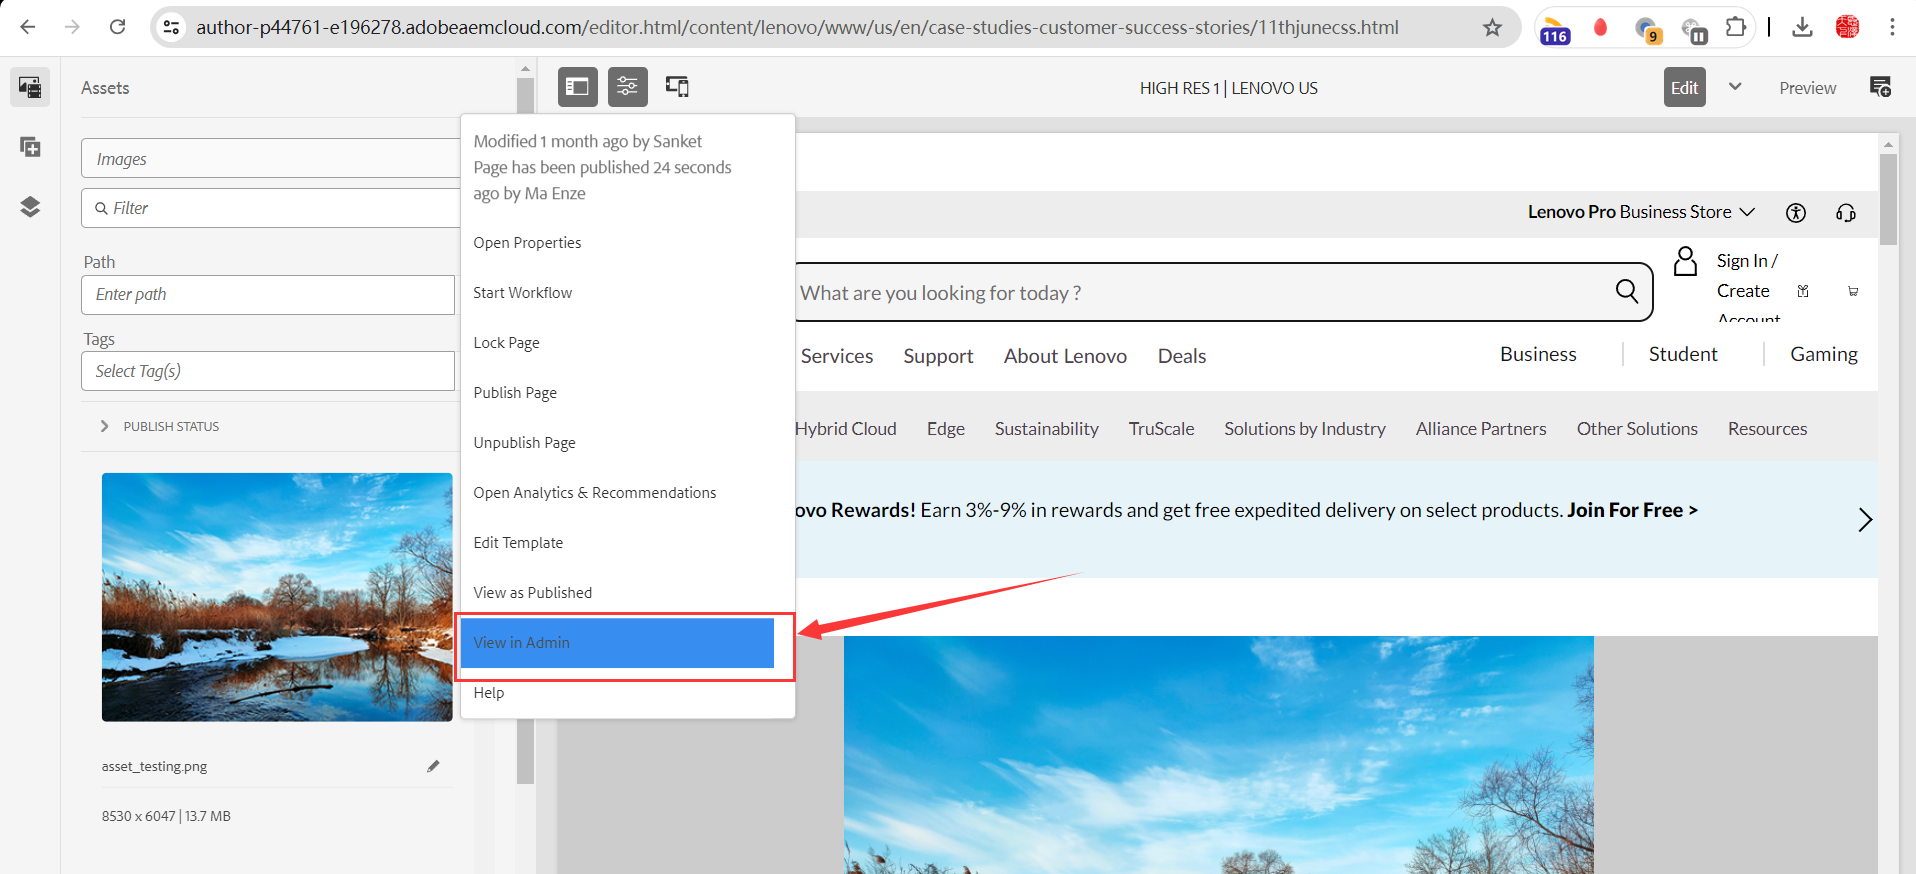
1. Go to the Sites page (you can also click View in Admin on the Editor page to jump to it):
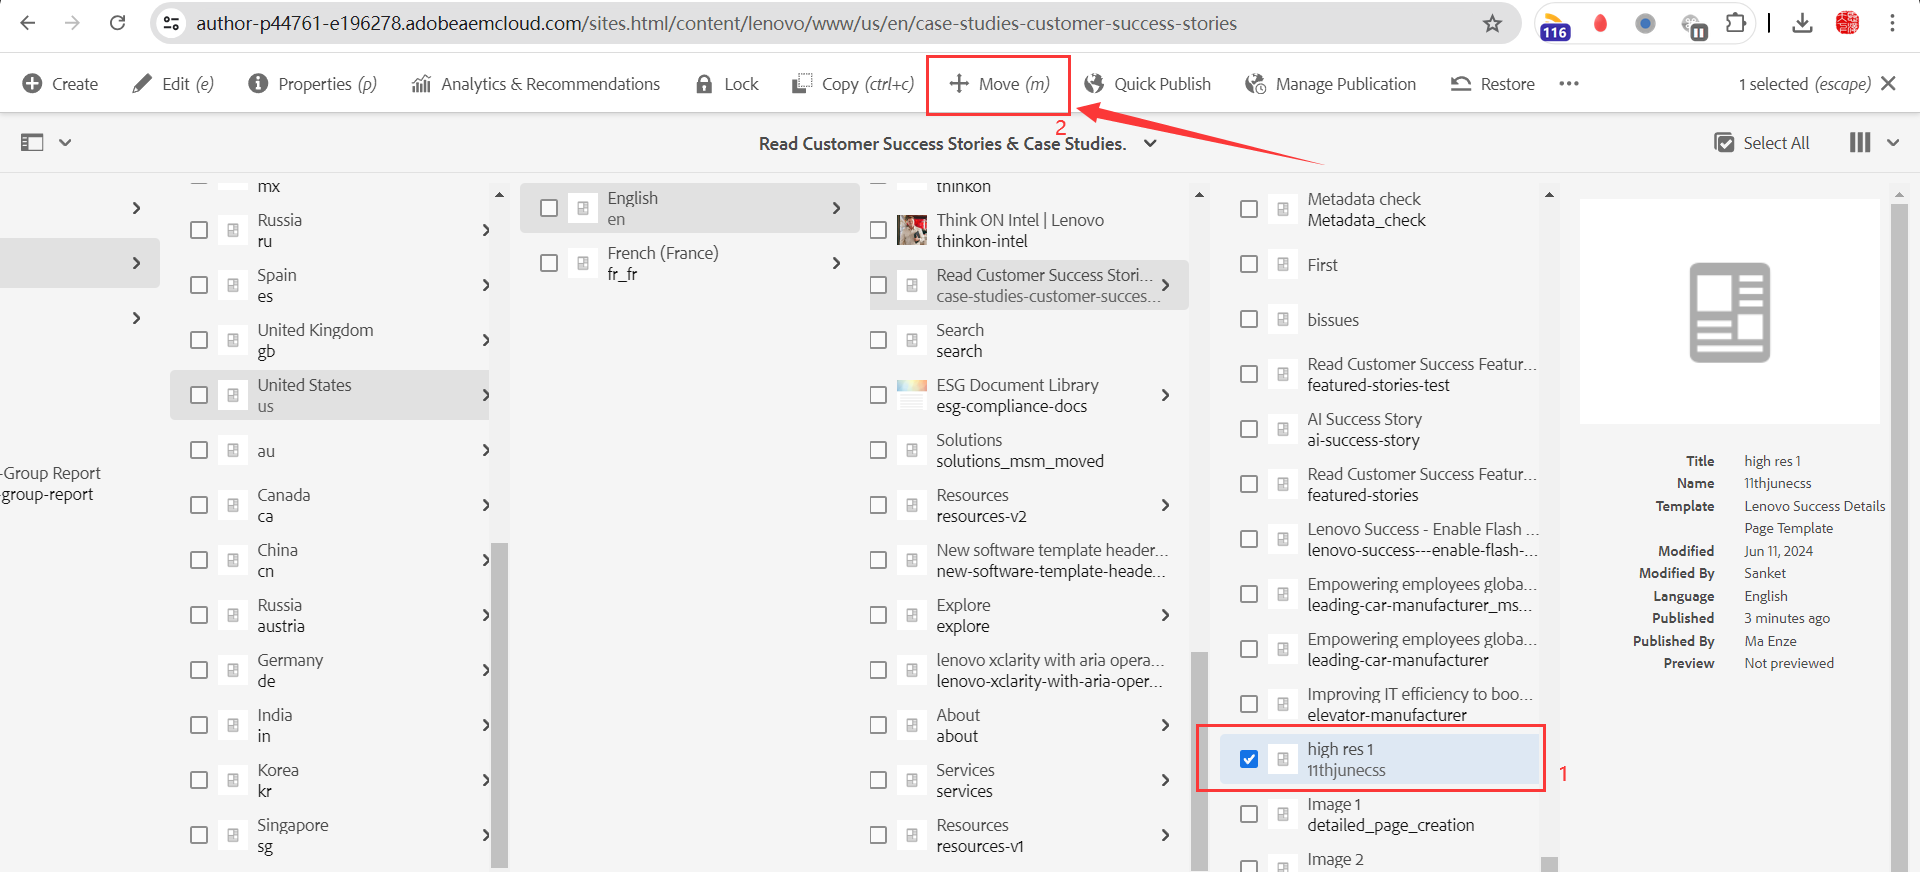
2. Select the page that you want to archive, then Click 'Move' button on top bar:
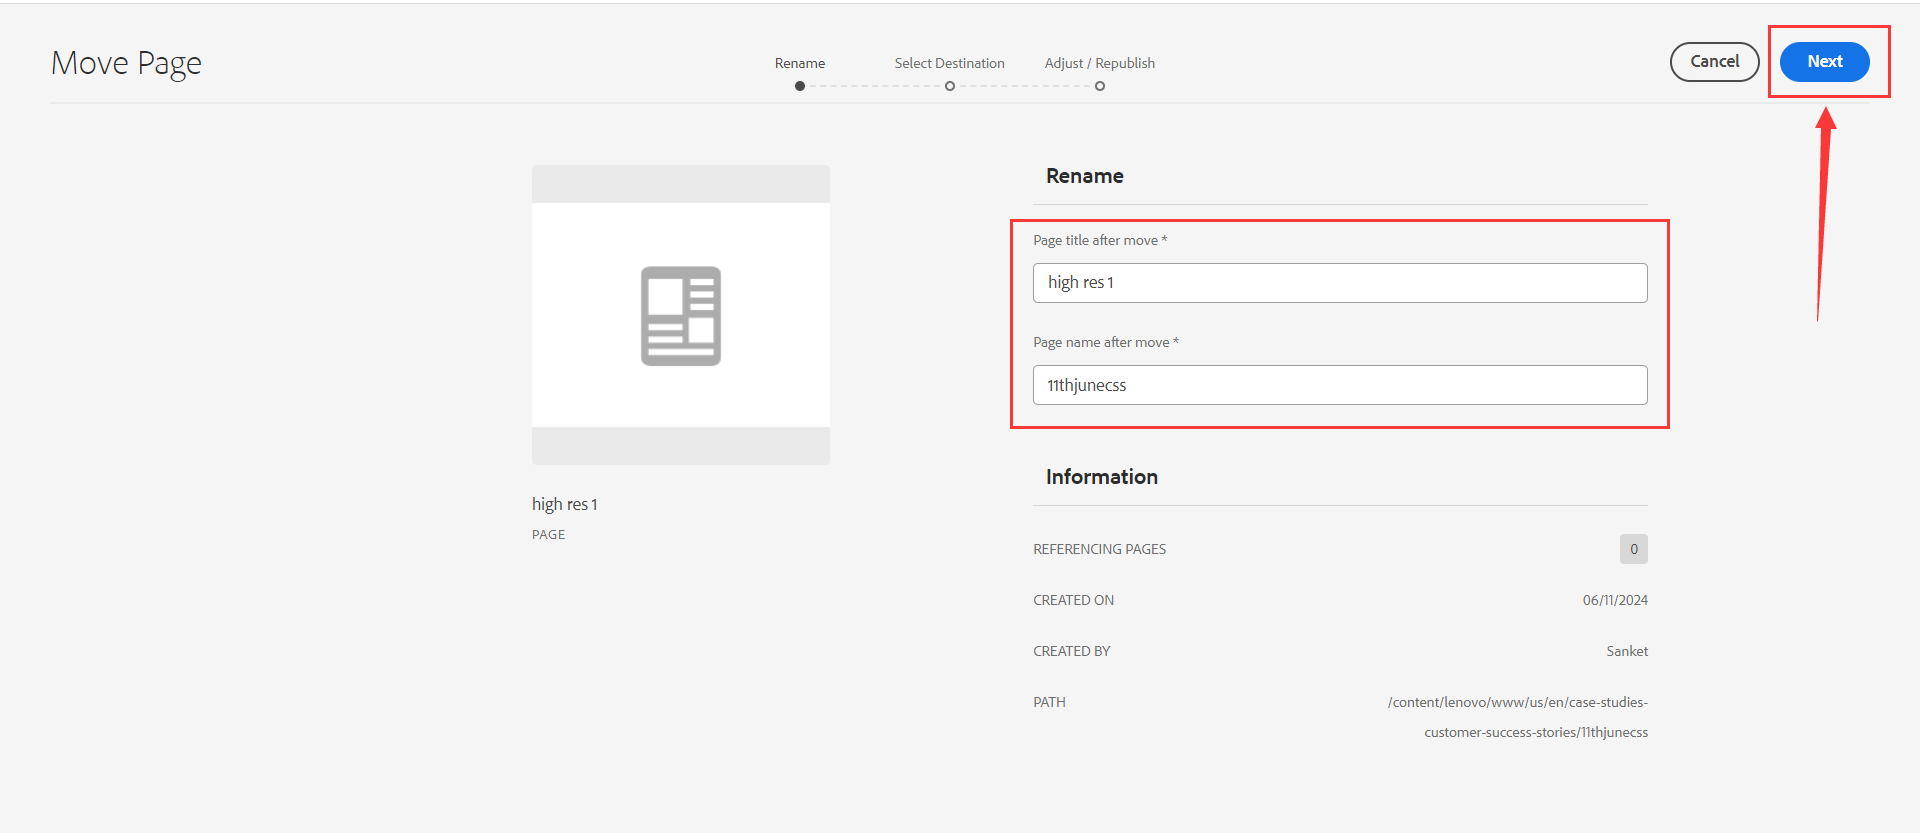
3. If you don't want to change the file name(If there is already a Page with a duplicate name in the Archive folder, then a numeric number will be appended to the end of the name of the current Page. For example, '11thjunecss' will become '11thjunecss1'.), you can leave the file name unchanged and just click 'Next' button:
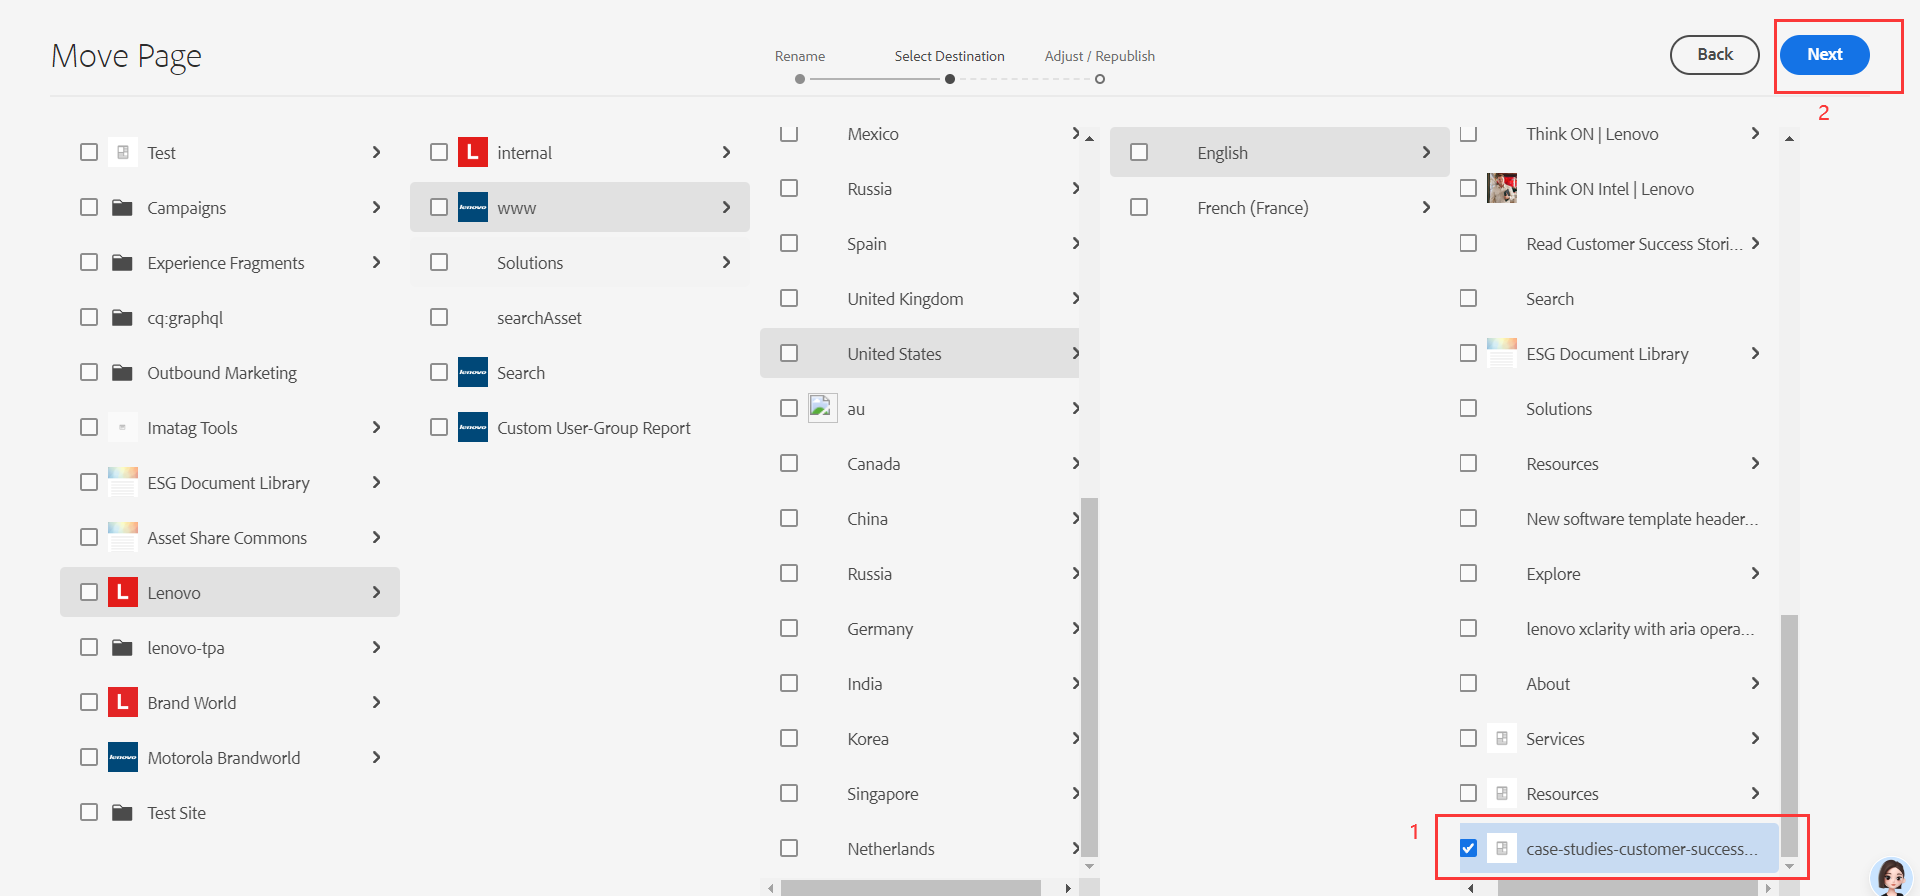
4. Then will go to the 'Select Desitination' screen, select the backup folder we created at the beginning, then click the 'Next' button:
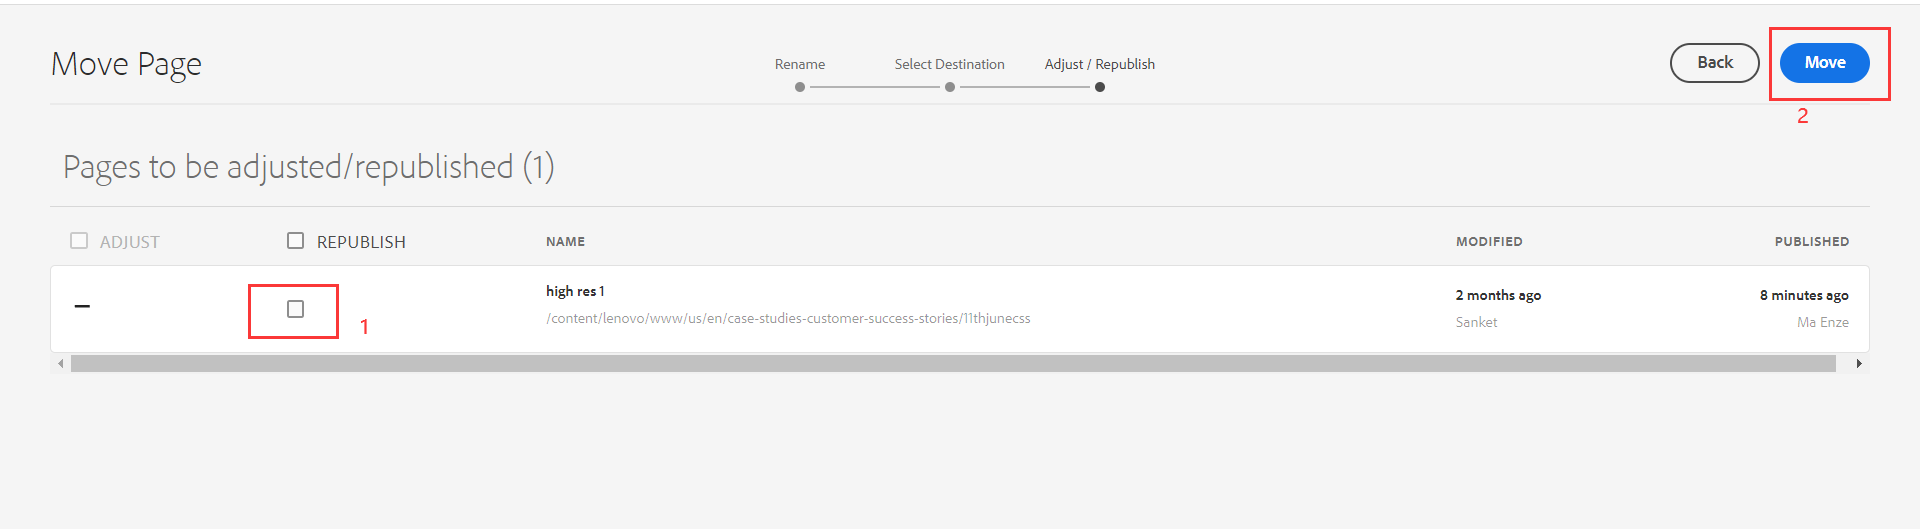
5. If the current page has been published, then 'Republish' will be checked here. If you do not need to automatically publish the page after the Move is completed, you can uncheck Republish and click the 'Move' button:
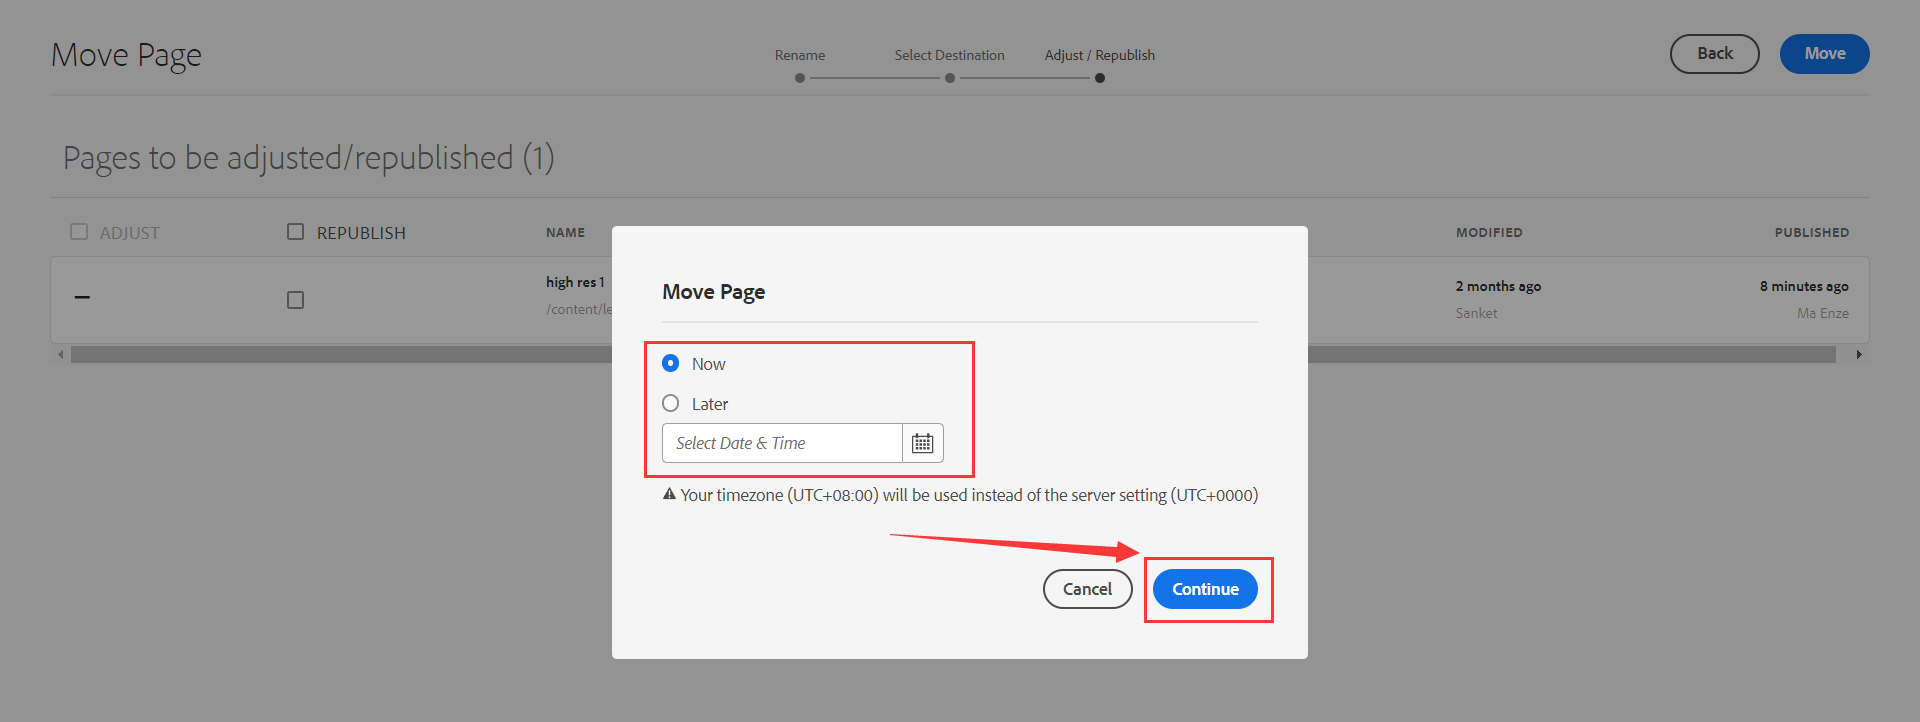
6. Next we can choose whether to execute now or some time in the future, in this case we select execute now and click the 'Continue' button:
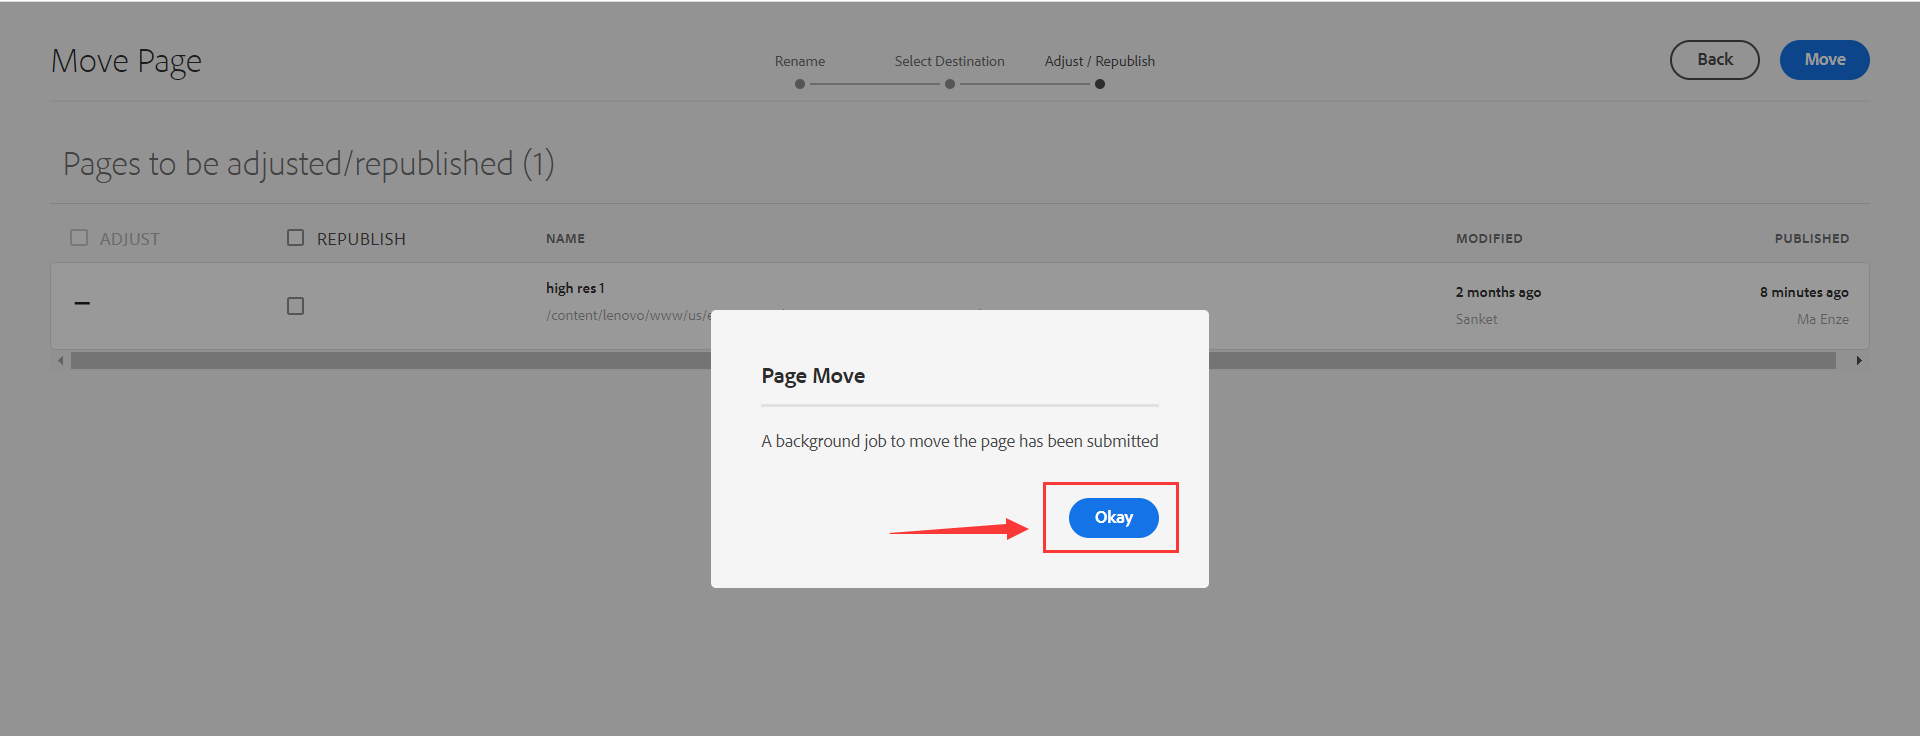
7. Then it will indicate that the background task of moving the page has been submitted, click the Okay button to complete the move, and then the system will automatically create the task of moving the page in the background without manual intervention:
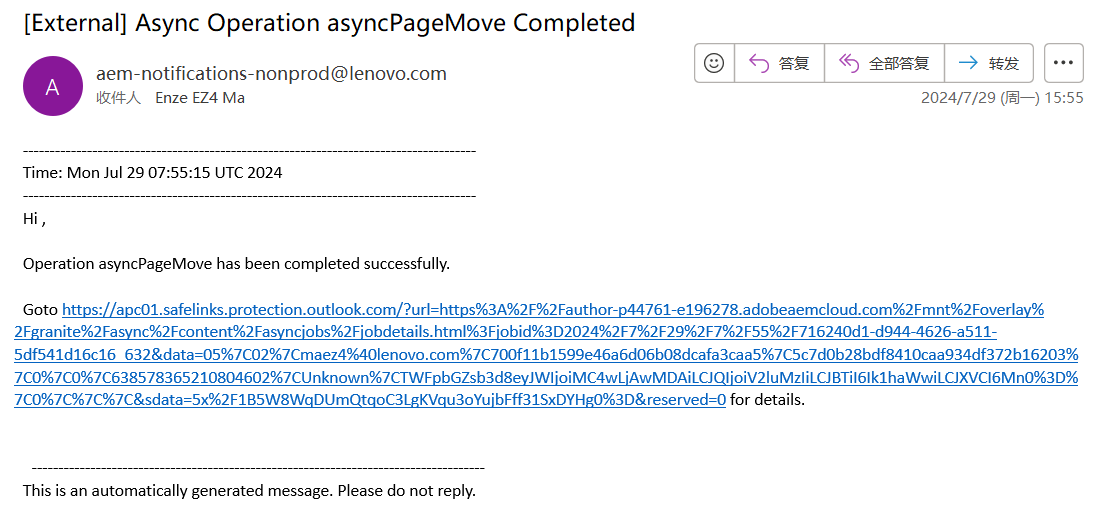
8. If the background task completes, you may receive an email about the success of the move page, roughly as follows:
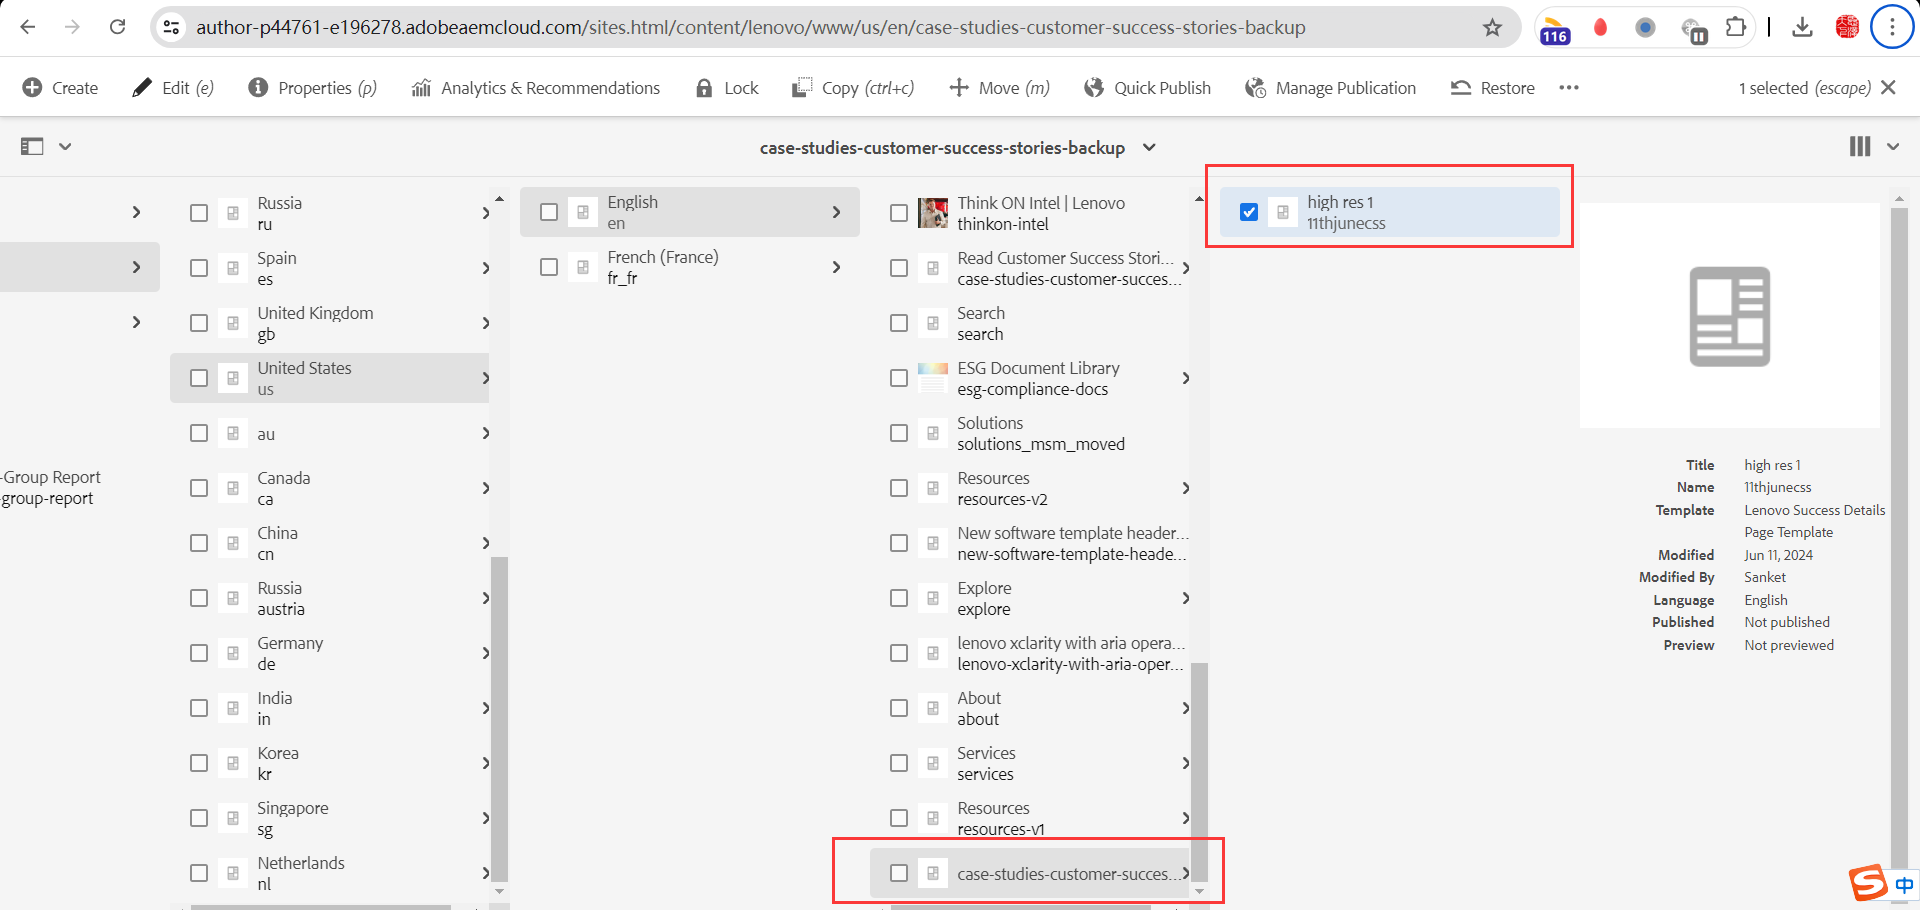
9. Then check the result in the AEM Sites, you can see that the page has been moved successfully:
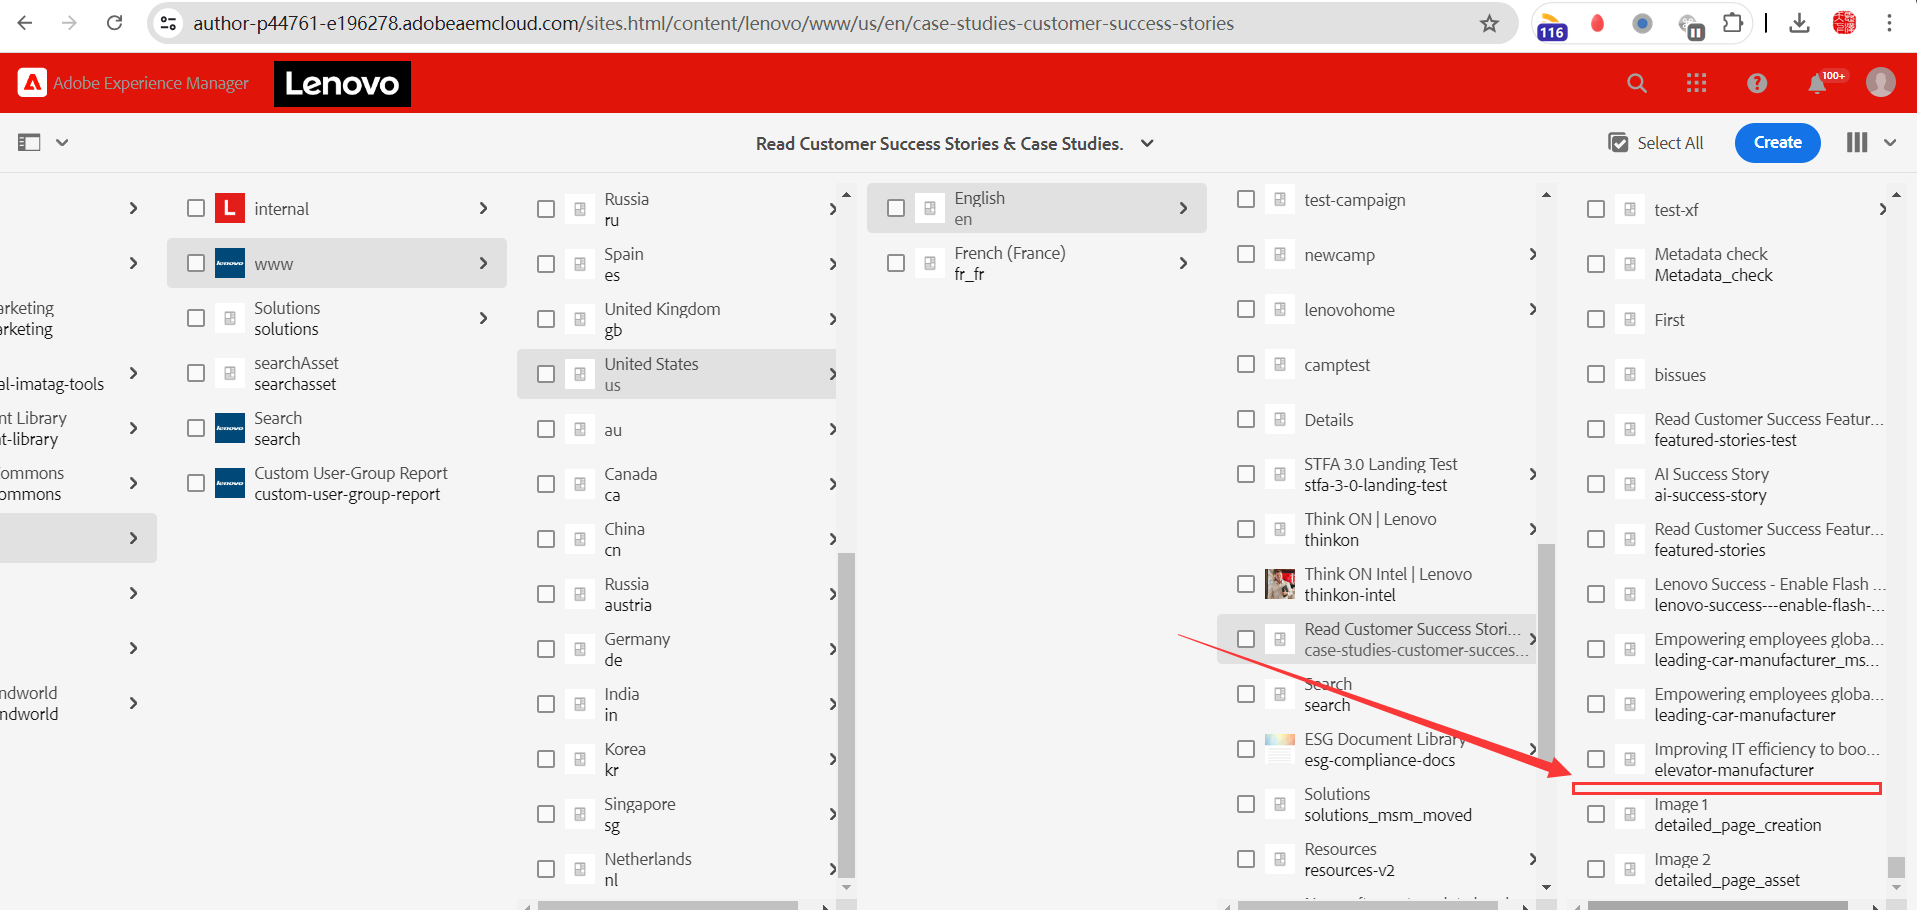
10. You can also go to the original directory to check if the page still exists, after verification, the original directory does not exist:
That's the complete process for unpublish and archive pages, hope it can be helpful to you. If there have any other questions, please contact us in time, thanks.